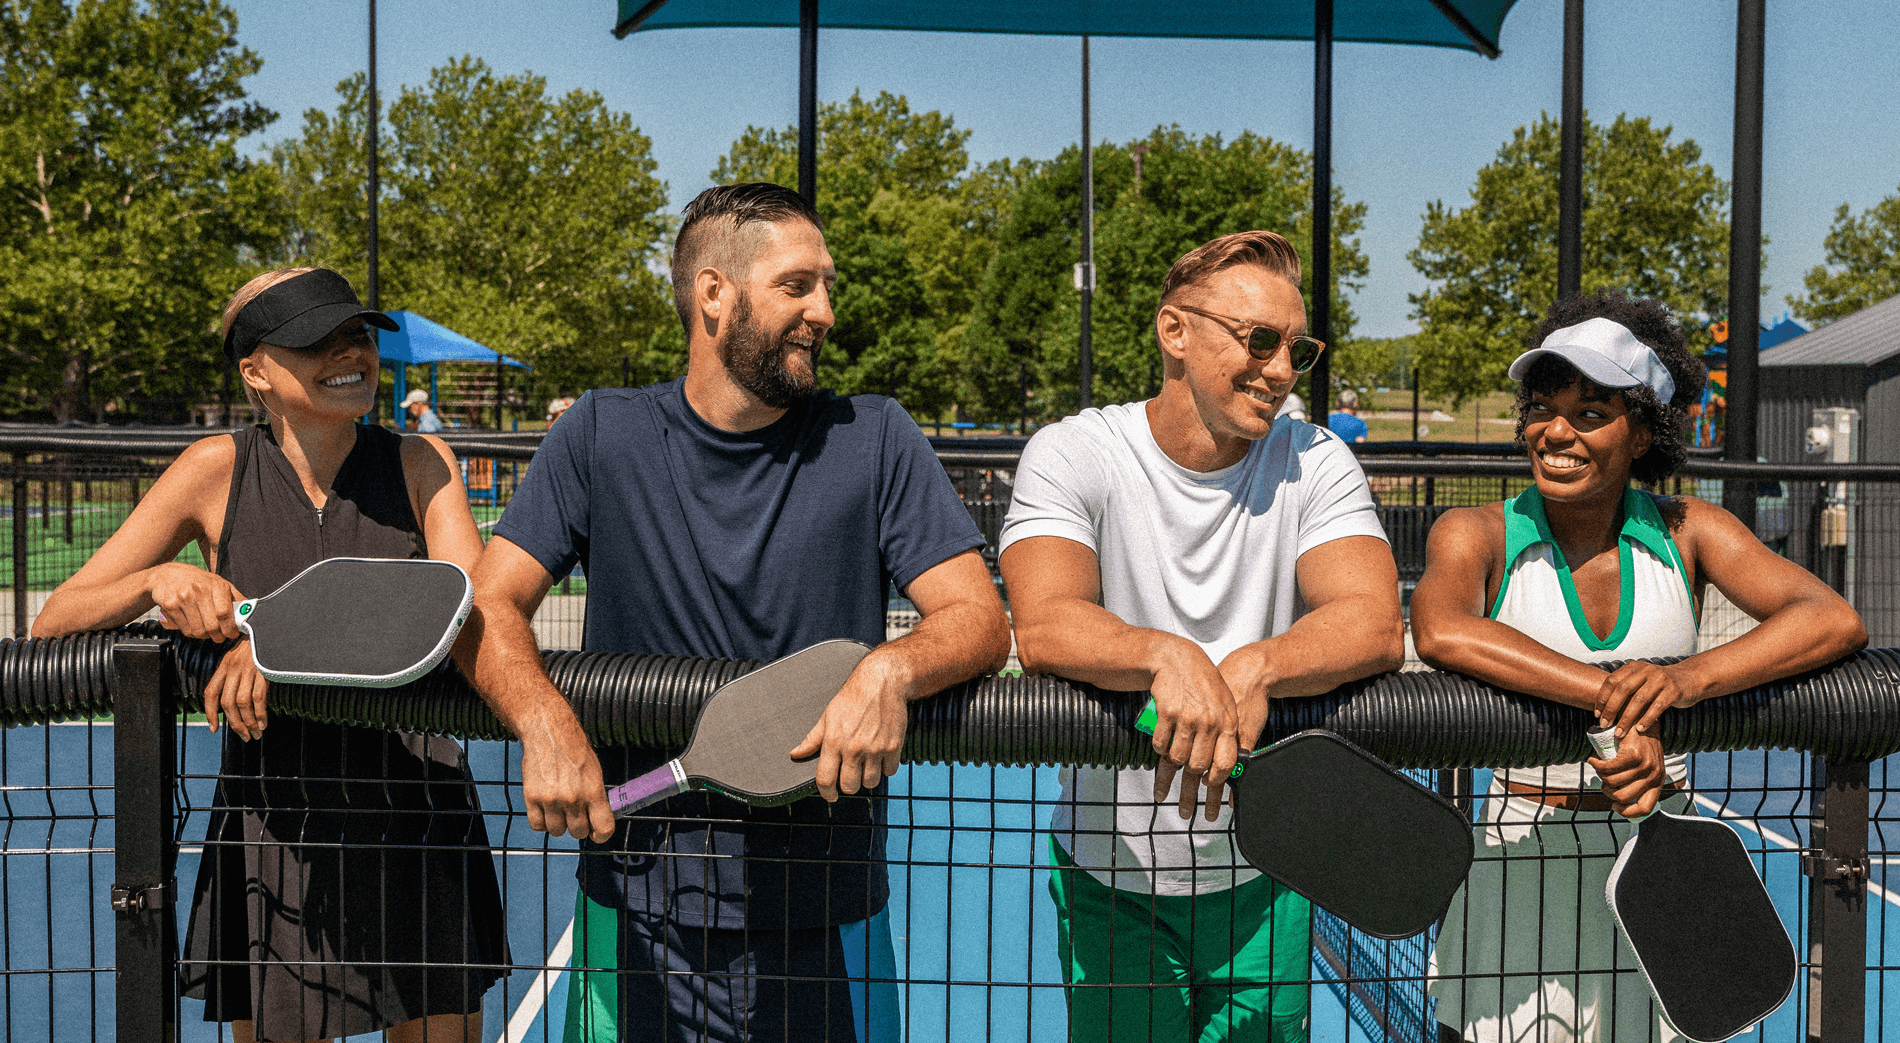
Pickleskins is "The Brand with the Bumps" - we're pickled to perfection and designed specifically for pickleball players of all levels. Our products feature unique pickle-themed designs, superior materials, and innovative features like our signature 3D bumps on edge guards and moisture-wicking technology in our grips.
Yes! Our grips, overgrips, and edge guards are designed with universal fit in mind. Our replacement grips come in 31 inches to fit even elongated handles, our edge guards at 25mm wide fit all paddle thicknesses (including 19mm monsters), and our paddle covers stretch to accommodate paddles with edge guards and lead tape.
- Heavy sweater or play in hot conditions? Choose Dry Dill-ight for maximum moisture control
- Want comfort and feel without changing handle size? Choose Thin Sliced for its soft, tacky surface
- Need to completely replace a worn grip? Choose Bread and Butter for full replacement and maximum durability
- First time user? Start with Thin Sliced - it's easy to apply and remove
- Remove the old grip – Start by peeling off the existing grip from your paddle handle, including any adhesive backing.
- Prepare the handle – Clean the handle of any leftover residue to ensure a smooth, secure fit for your new grip.
- Start at the butt cap – Unroll your Pickleskins replacement grip and begin wrapping it at the bottom of the handle (near the butt cap). Most grips will taper—start with the thinner end.
- Wrap with tension and overlap – Wrap the grip around the handle, overlapping each layer by about 1/8 inch. Keep consistent tension as you go to avoid wrinkles or loose spots.
- Secure the end – When you reach the top, trim any excess grip and use the provided finishing tape to secure the end firmly.
Pro Tip: For best results, wrap the grip in the same direction you naturally hold your paddle—this helps prevent it from loosening during play.
You'll Need: Scissors, finishing tape (usually included)
Step by Step:
- Start at the bottom of your existing grip
- Remove the adhesive backing
- Begin wrapping with slight overlap (about 1/8 inch)
- Apply steady, even pressure as you wrap
- Work your way up the handle, maintaining consistent overlap
- Finish at the top of the handle
- Secure the end with the included finishing tape
- Trim any excess material
Pro Tip: Overgrips are meant to be replaced regularly (every 2-4 weeks for frequent players), so don't worry about making it permanent!
You'll Need: Clean cloth, scissors (optional)
Step by Step:
- Clean your paddle edge thoroughly - remove any dirt or oils
- Start at any point along the paddle edge
- Peel the backing and apply the tape along the paddle's perimeter
- Press firmly as you go, ensuring good contact
- The 3D bumps should face outward for maximum protection
- Overlap slightly where the tape meets to complete the circle
- Press down the entire perimeter one more time
Pro Tip: Take your time around curves and corners - the tape is flexible but needs to conform properly for best protection.
This is dependent on the player and their preferences. Signs it's time to replace:
- Loss of tackiness
- Visible wear or fraying
- Reduced moisture absorption
- Slipping during play
- Clean your hands before play
- If using an overgrip, it might be time to replace it
- Consider switching to Dry Dill-ight if you're a heavy sweater
- Make sure the grip was applied with proper tension
We stand behind our products! If you're not completely satisfied with your Pickleskins purchase, contact our customer service team at support@pickleskins.com. We want every player to love their gear.


